


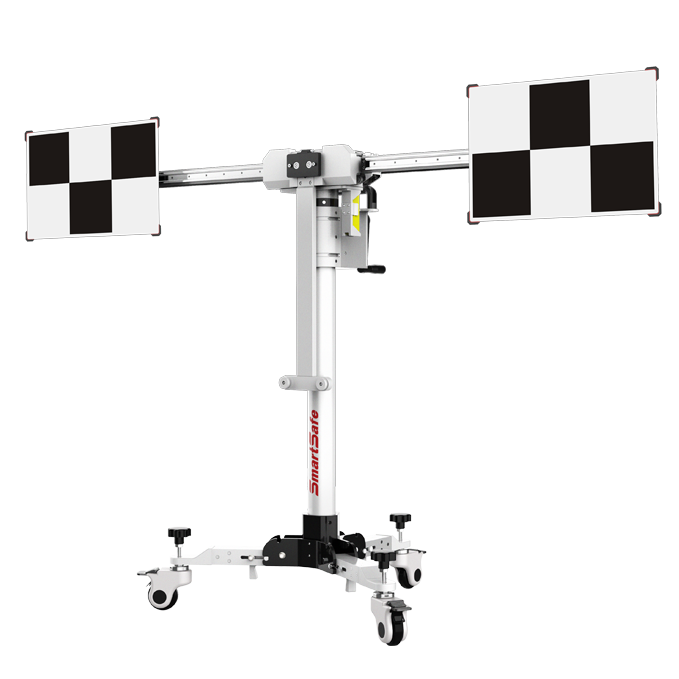
The radar three-in-one calibration tool is a tool for radar system calibration developed by SmartSafe, including ACC radar reflector, conical radar target, Doppler simulator, three-in-one main frame and accessories. It can calibrate adaptive Cruise control system, blind spot monitoring system, lane change assist system, front corner radar system, etc.
LAC05-04 Doppler Simulator
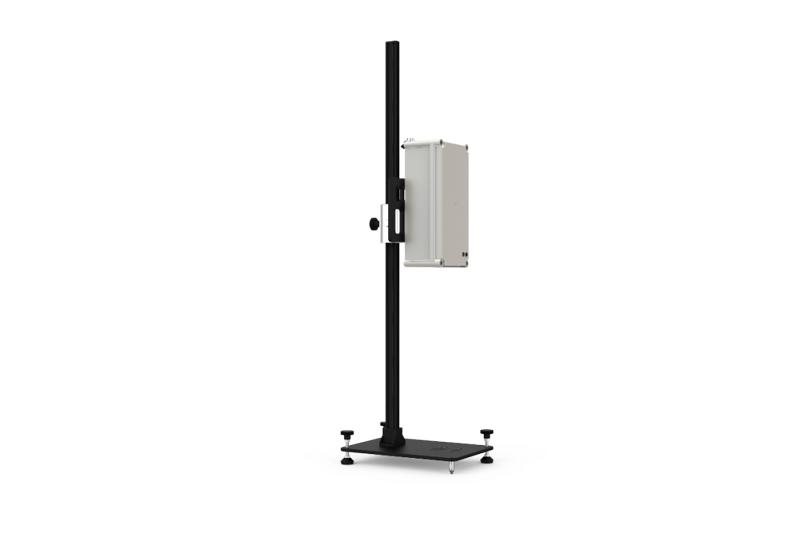
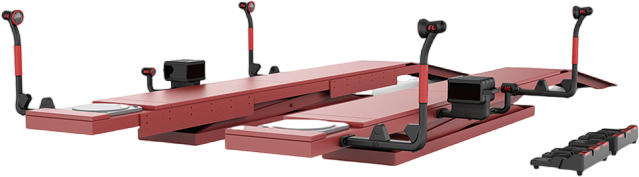
Three-in-one main frame
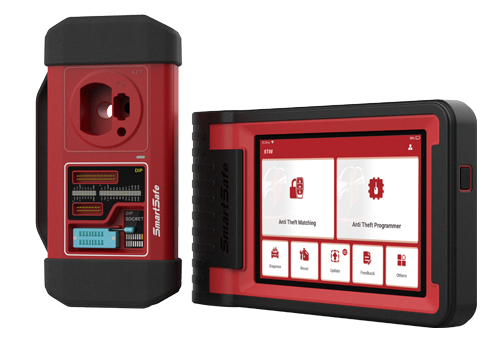
ST D01 tablet
LCA lane change assist system
Changan Mazda
Operation Tutorial
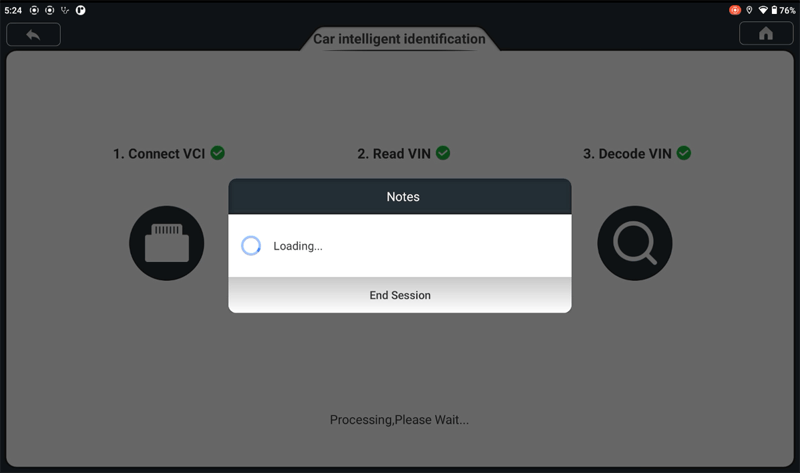
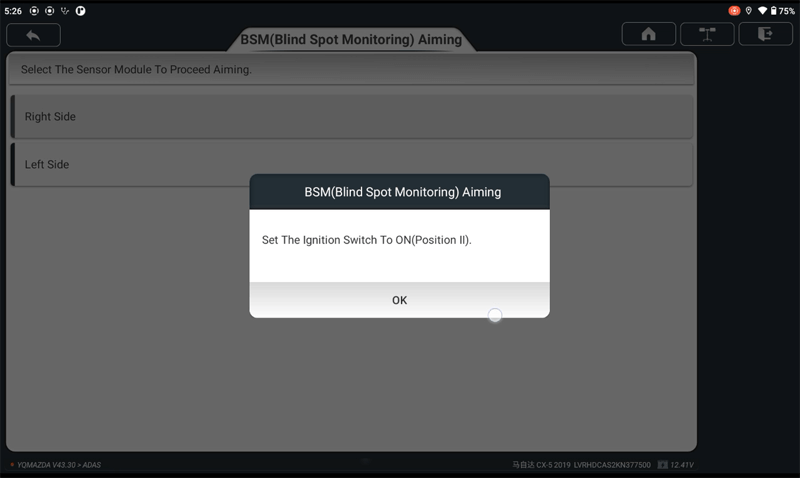
1. Turn on the car ignition switch, connect the OBD diagnostic connector, select [ADAS Calibration] on the D01 main interface to automatically identify the VIN code. Select the year of the vehicle and confirm the vehicle information.

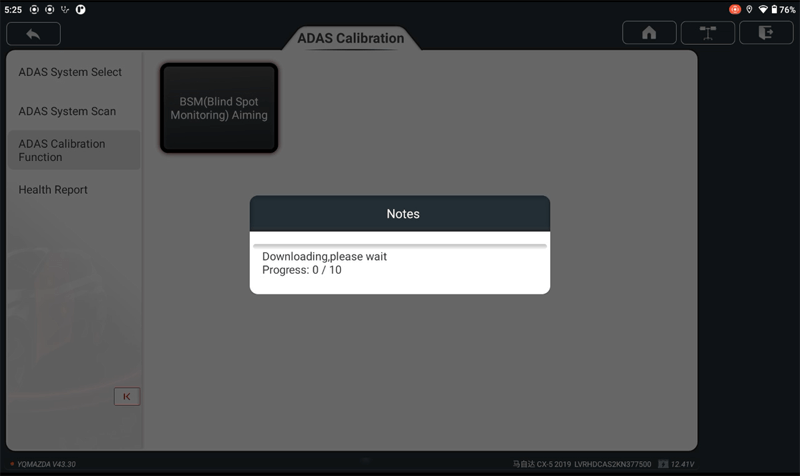
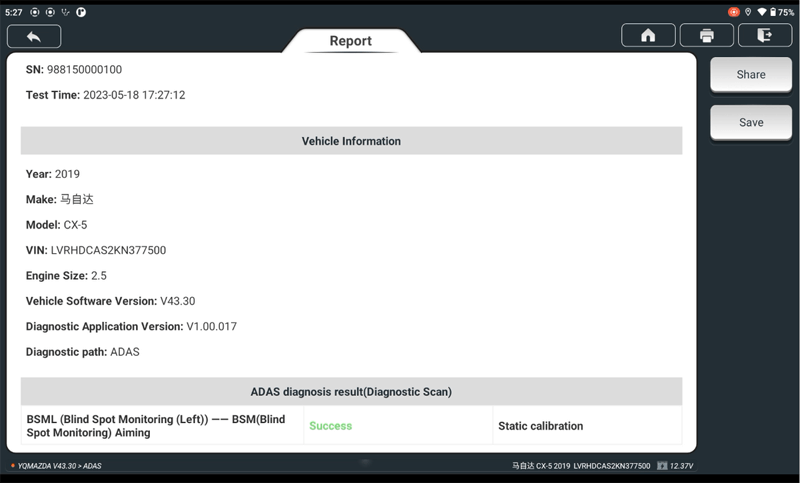
2. Enter [ADAS Calibration Function]→ [BSD Radar Calibration]→[BSM (Blind Spot Monitoring) Aiming].
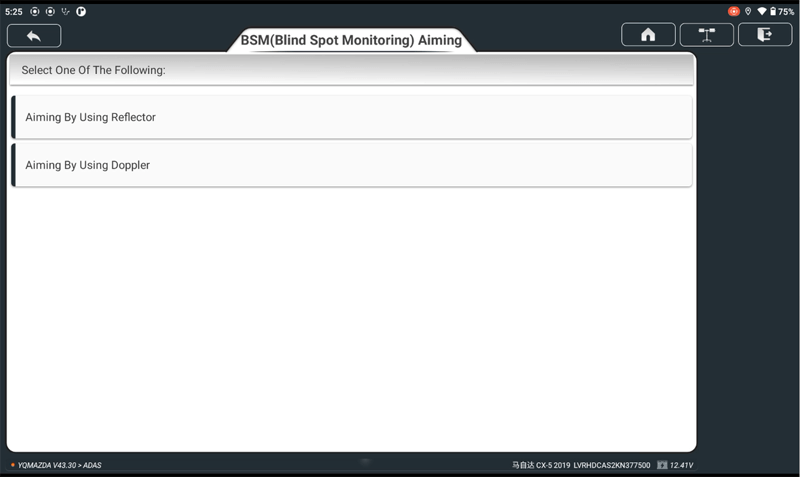
3. Select [Aiming By Using Reflector].
4. Select [Right Side]
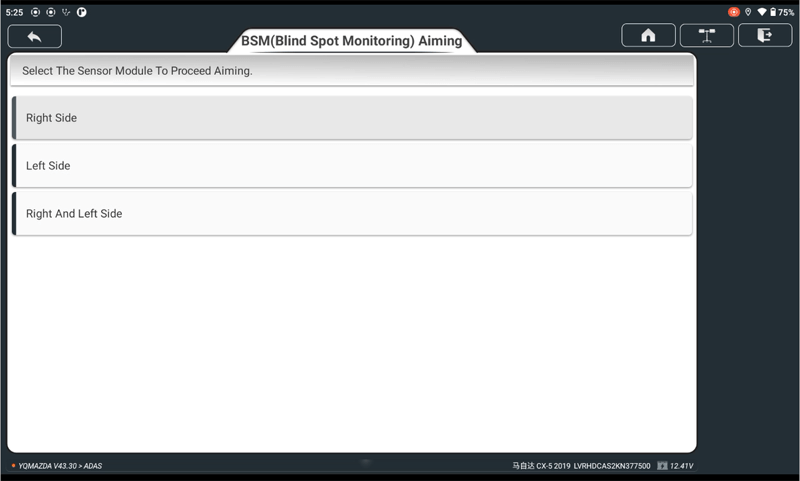
5. Select [Aiming By Using Doppler]

6. Select [Right Side]
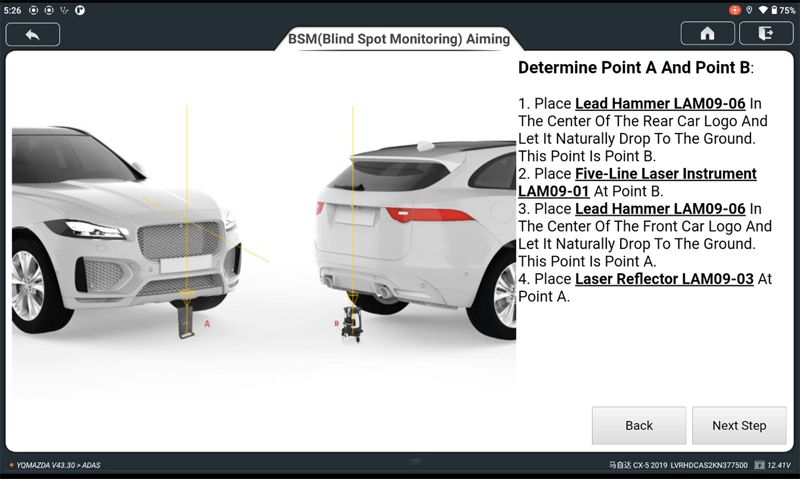
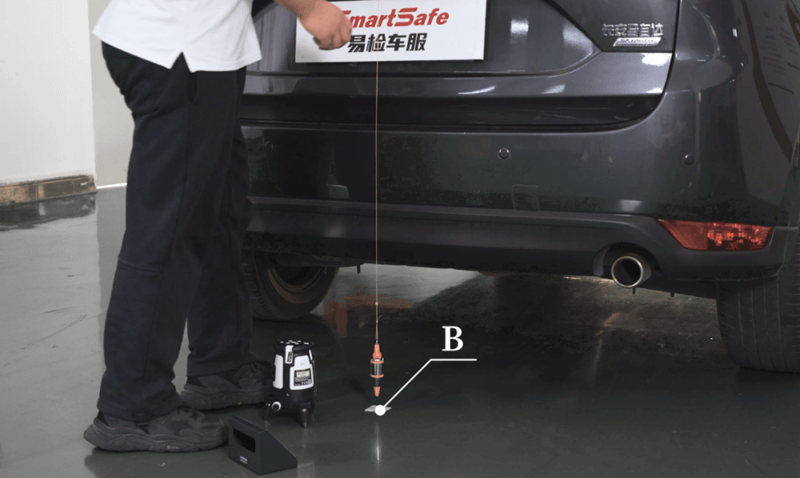
7. Determine Point A And Point B
① Place Lead HammerLAM09-06InThe Center Of The Rear Car Logo AndLetlt Naturally Drop To The GroundThis Point Is Point B.
② Place Five-Line Laser Instrument LAM09-01 At Point B.
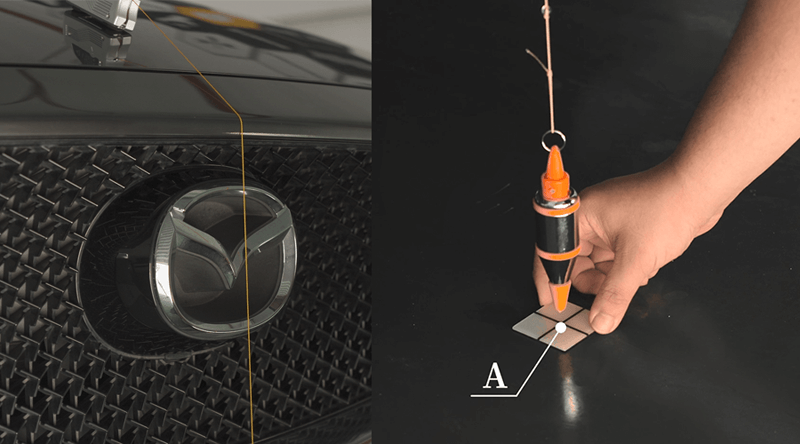
③ Place Lead Hammer LAM09-06 In The Center Of The Front Car Logo And Let It Naturally Drop To The Ground This point is point A.
④ Place Laser Reflector LAM09-03 At Point A.
⑤ Click [Next Step].
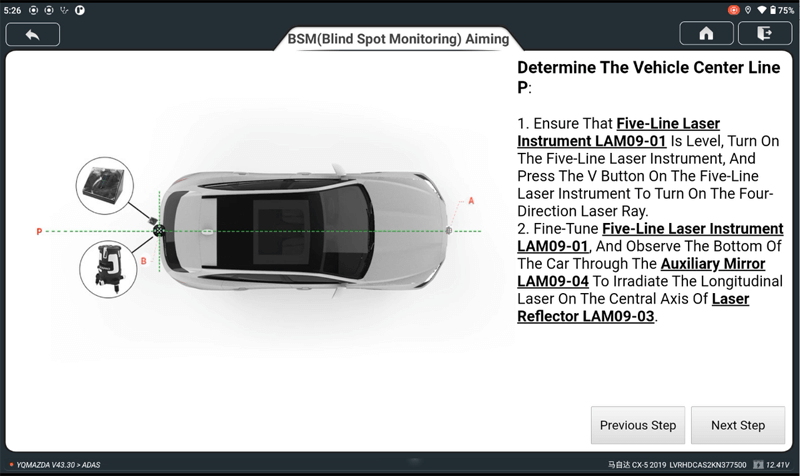
8. Determine The Vehicle Center Line P
① Ensure That Five-Line Laser Instrument LAM09-01 Is Level, Turn On The Five-Line Laser Instrument, And Press The V Button On The Five-Line Laser Instrument To Turn On The Four Direction Laser Ray.
② Fine-Tune Five-Line Laser Instrument LAM09-01. And Observe The Bottom Of The Car Through The Auxiliary Mirror LAM09-04 To Irradiate The Longitudinal Laser On The Central Axis Of Laser Reflector LAM09-03.
③ Click [Next Step].

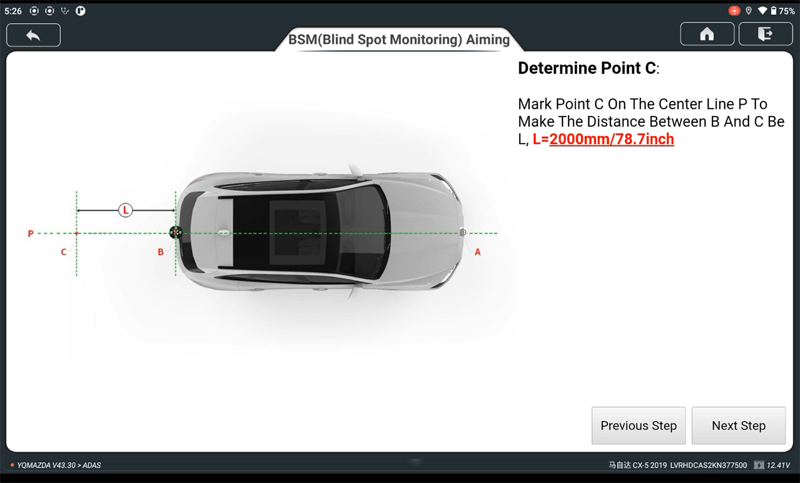
9. Determine Point C
① Mark Point C On The Center Line P To Make The Distance Between B And C Be L, L=2000mm/78.7inch.
② Click [Next Step].
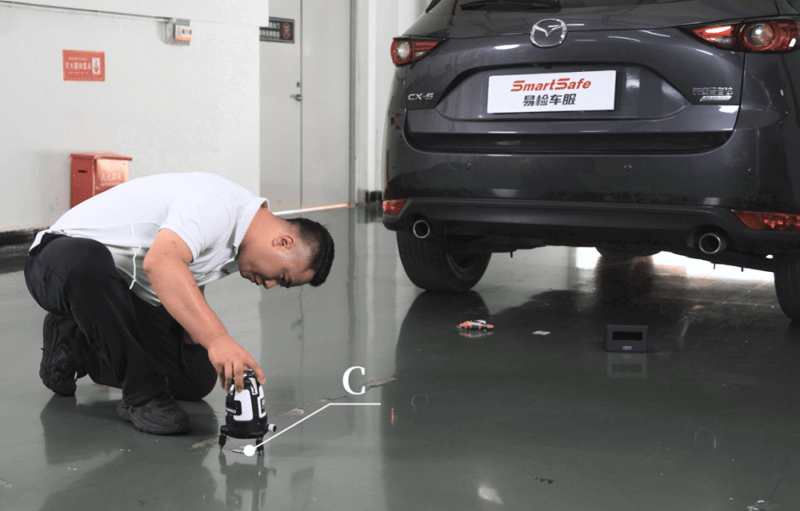
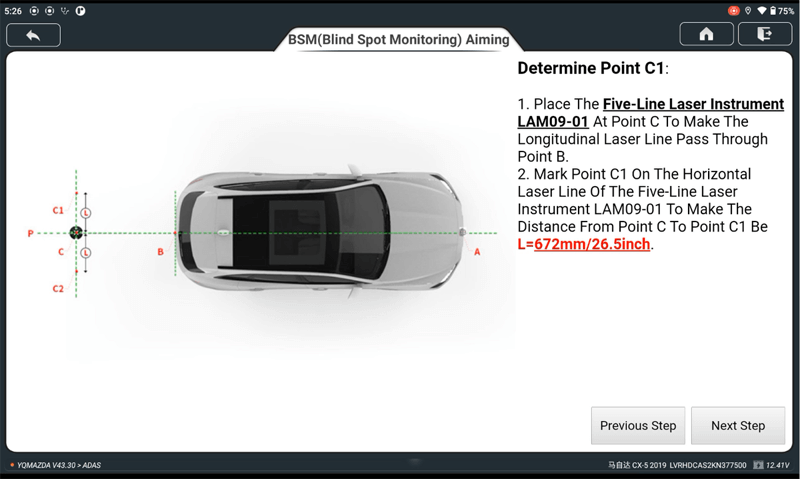
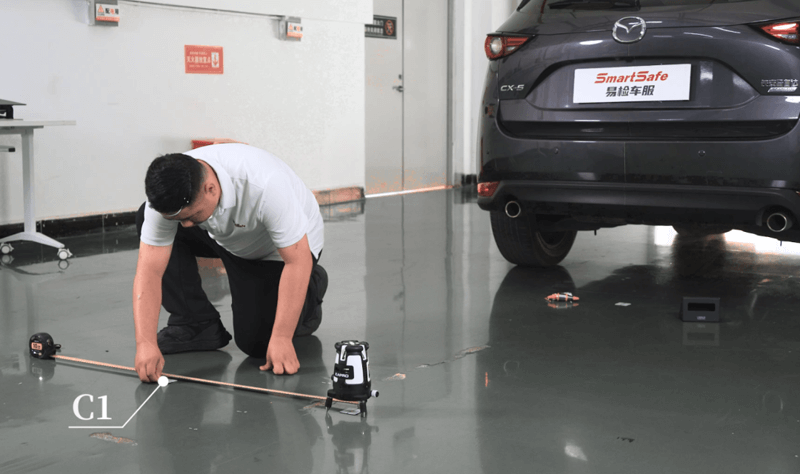
10. Determine Point C1
① Place The Five-Line Laser Instrument LAM09-01 At Point C To Make The Longitudinal Laser Line Pass Through Point B.
② Mark Point C1 On The HorizontalLaser Line Of The Five-Line LaserInstrument LAM09-01To Make The Distance From Point C To Point C1 Be L=672mm/26.5inch.
③ Click [Next Step].
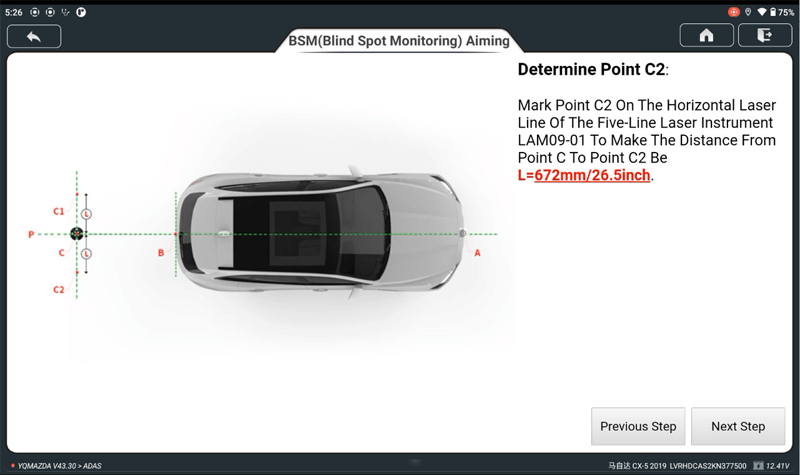
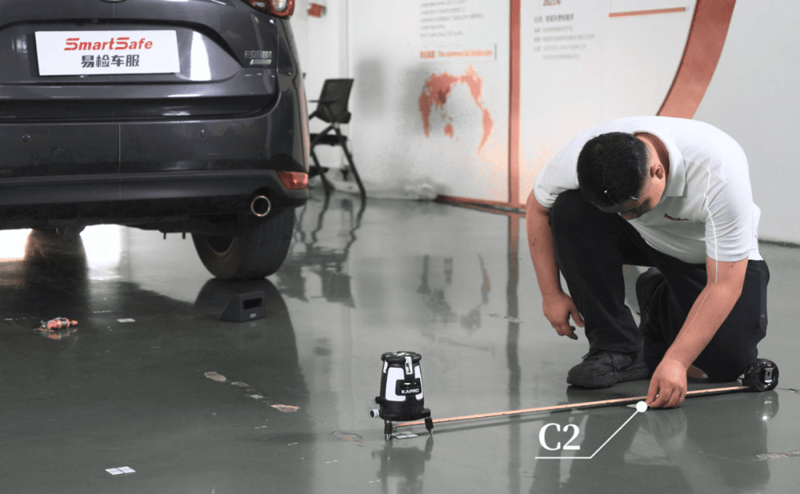
11. Determine Point C2
① Mark Point C2 On The Horizontal Laser Line Of The Five-Line Laser Instrument LAM09-01 To Make The Distance From Point C To Point C2 Be L=672mm/26.5inch.
② Click [Next Step].
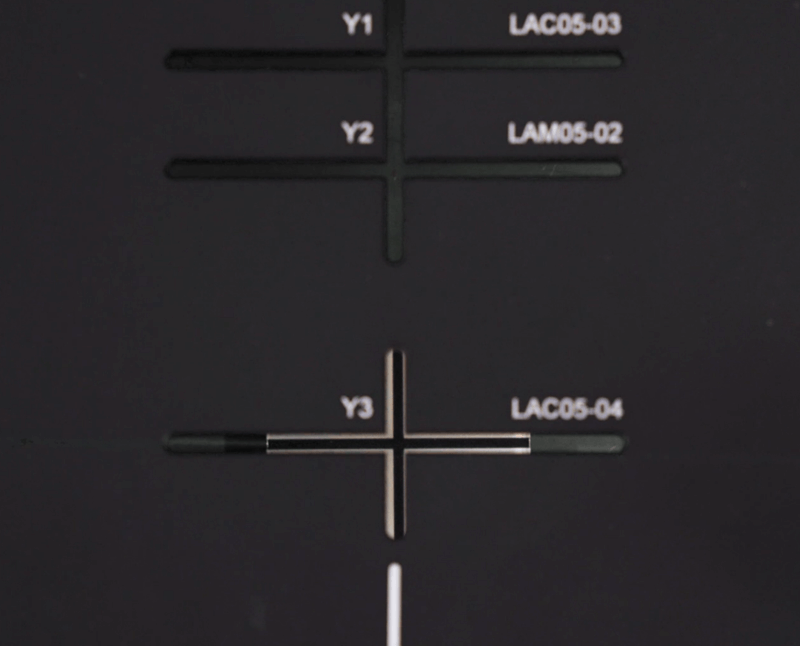
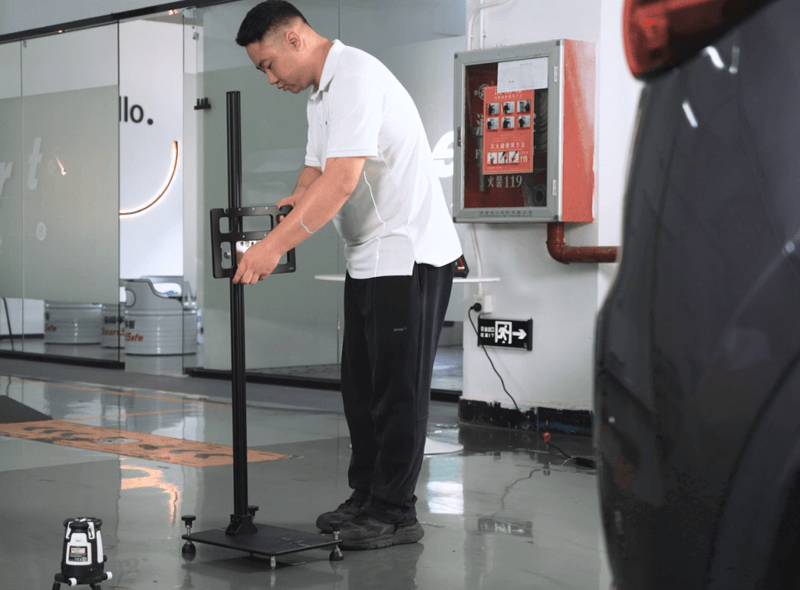
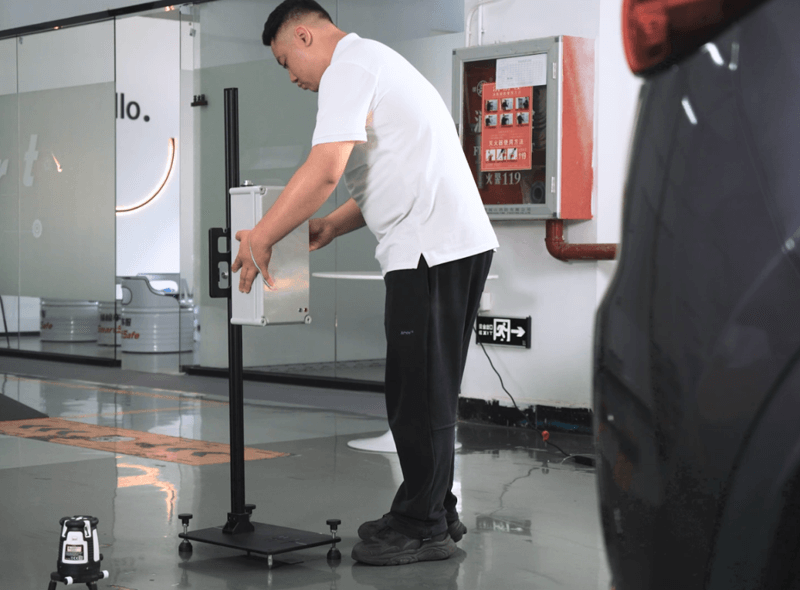
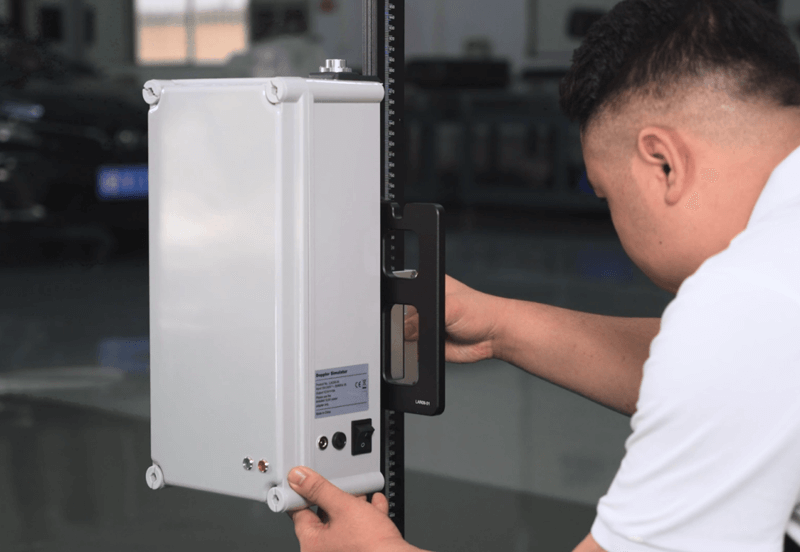
12. Place the calibrated main frame at point C, so that point C coincides with the position of the equipment base Y3. Place the adapter frame LAR09-01 on the main frame, and install the Doppler simulator LAC05-04, click [Next Step].
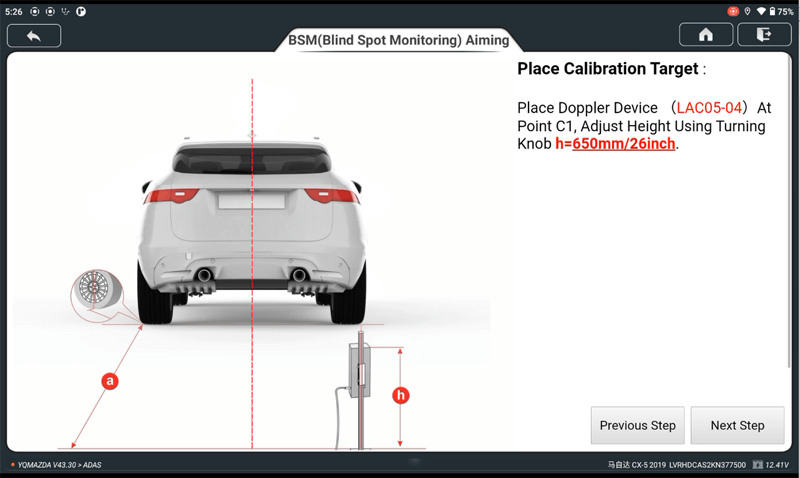
13. Place Calibration Target
① Place Doppler Device (LAC05-04) At Point C1, Adjust Height Using Turning Knob h=650mm/26inch.
② Click [Next Step].
14. Turn Doppler Generator Switch ON (Location 3 In The Figure), The LED1 Will Be Green.

15. Wait for the calibration to complete and save the ADAS report.
Return


 VIEW All