


Background
The vehicle has the following failure records (no or wrong basic settings/adaptation)
(1) B201000 – Calibration
(2) C1106F0 – Calibration
(3) C110A76 – Calibration
Vehicle parts are overhauled and replaced as follows:
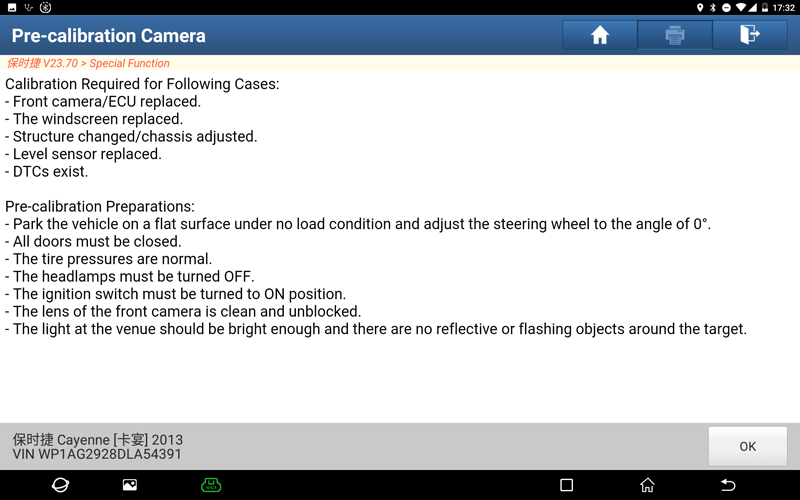
(1) The front camera/ECU has been replaced.
(2) The front windshield has been replaced.
(3) Structural changes/chassis adjustments.
(4) The level sensor has been replaced.
(1) Turn on the car ignition switch.
(2) The vehicle is parked on flat ground with no load on the car and the steering angle is 0.
(3) All doors of the vehicle must be closed.
(4) The tire pressure of the vehicle is normal.
(5) Vehicle headlights must be turned off.
(6) The vehicle ignition switch needs to be turned on.
(7) The front camera lens is clean and unobstructed.
(8) The place is well-lit. There are no reflective or shiny objects around the target.
Porsche Cayenne 92A 2013
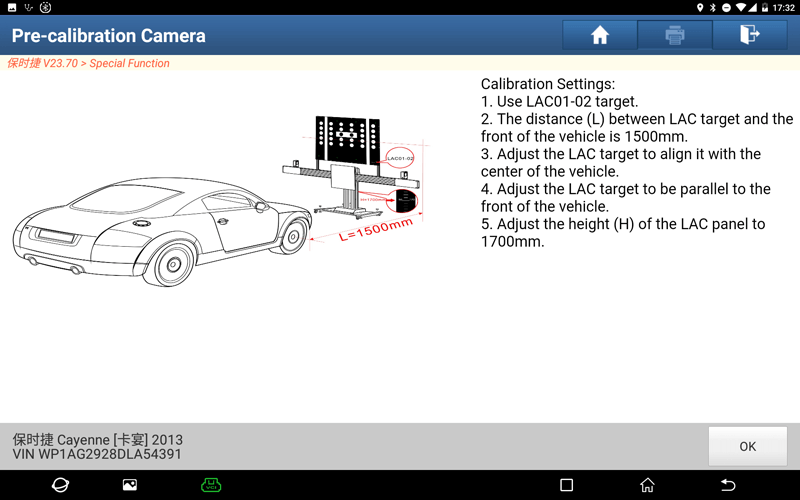
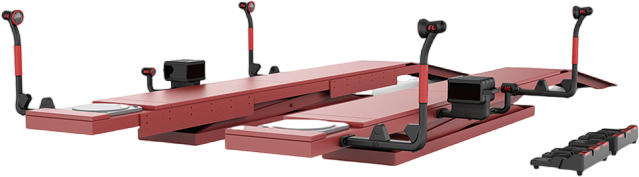
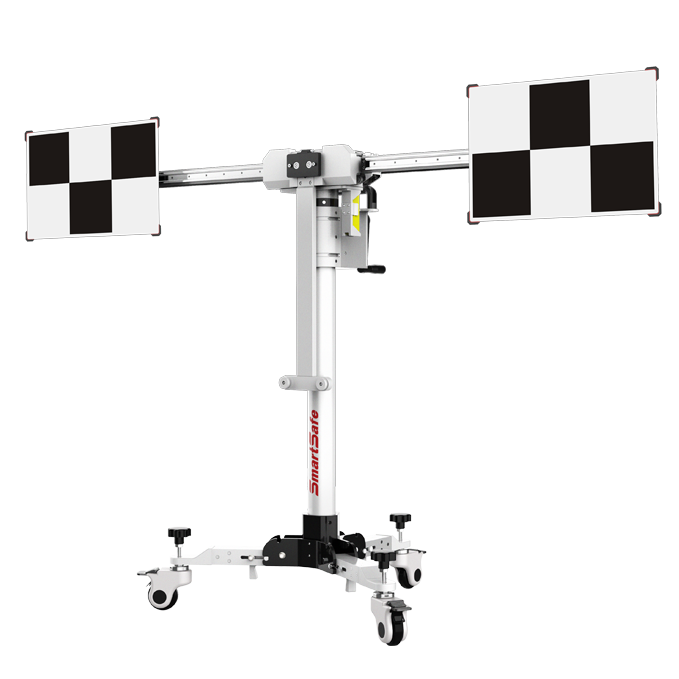
(1) The LAC01-02 target was used.
(2) The distance between the LAC target and the front of the vehicle is L=1500mm (+/-25mm).
(3) Adjust the LAC target to align with the center of the vehicle.
(4) Adjust the LAC target parallel to the front of the vehicle.
(5) Adjust the LAC panel height H=1700mm.
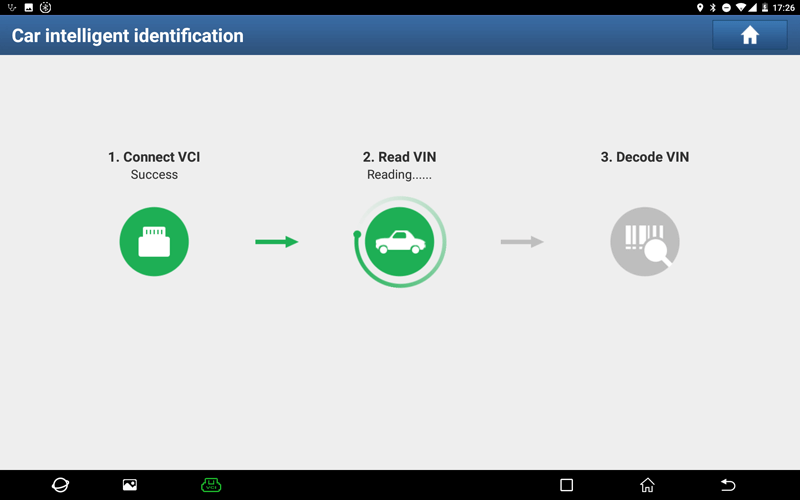
1. The diagnostic tool starts communicating with the VCI and reads the VIN.
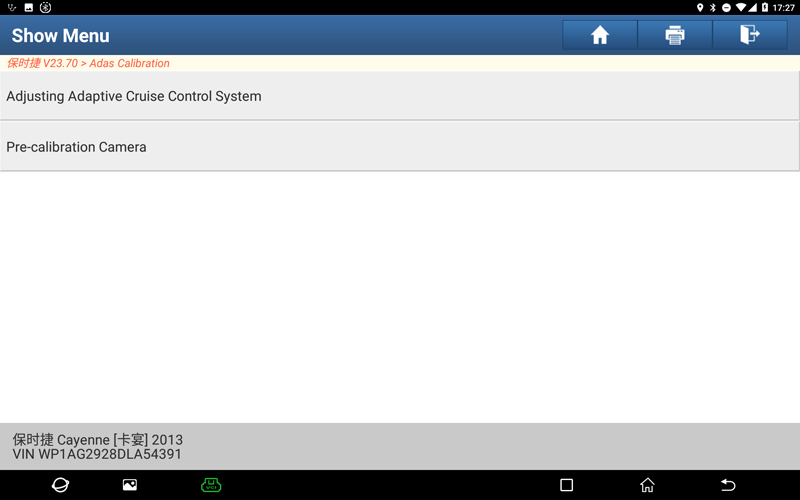
2. After the VIN is resolved successfully, the system will automatically enter the ADAS function selection interface. Here we select the “Pre-calibration Camera” function.
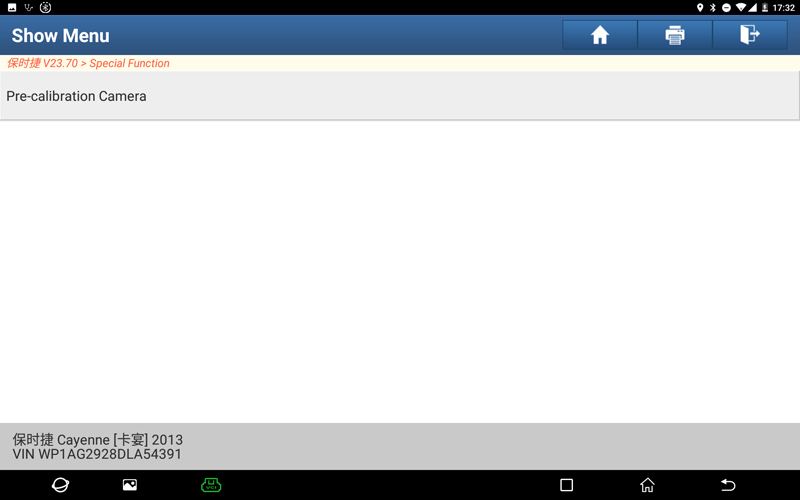
3. Click "Pre-calibration Camera" to enter the pre-calibration camera function.
4. Carefully read the calibration operation requirements, and confirm that all calibration conditions are met. If the conditions are satisfied, click "OK".
5. Adjust the LAC position according to the target setting. When done, click "OK".
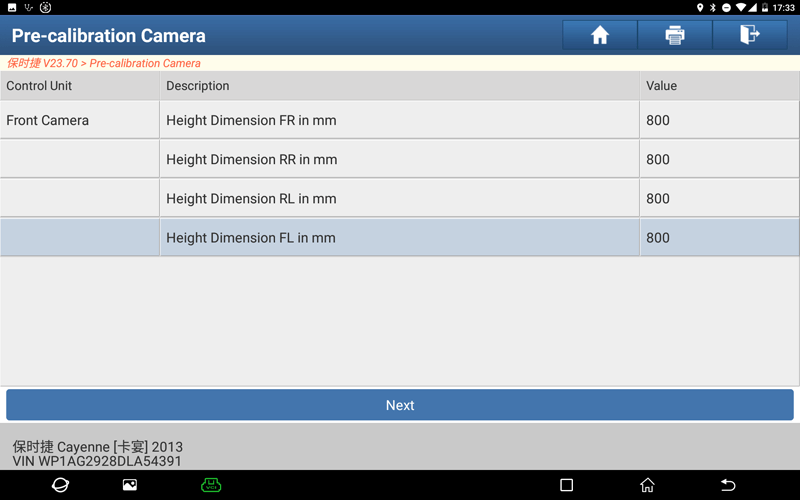
6. Measure the distance between the tire contact surface (ground) and the lower edge of the corresponding side panel, and enter its height in mm (the value is between 400mm and 1100mm).
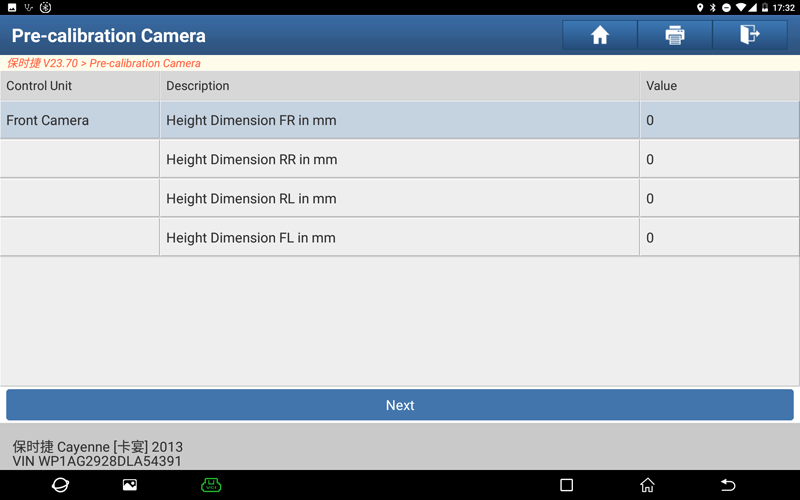
Enter the correct measured values in turn, and click "NEXT".
7. After the program is executed correctly, the following information will be prompted.
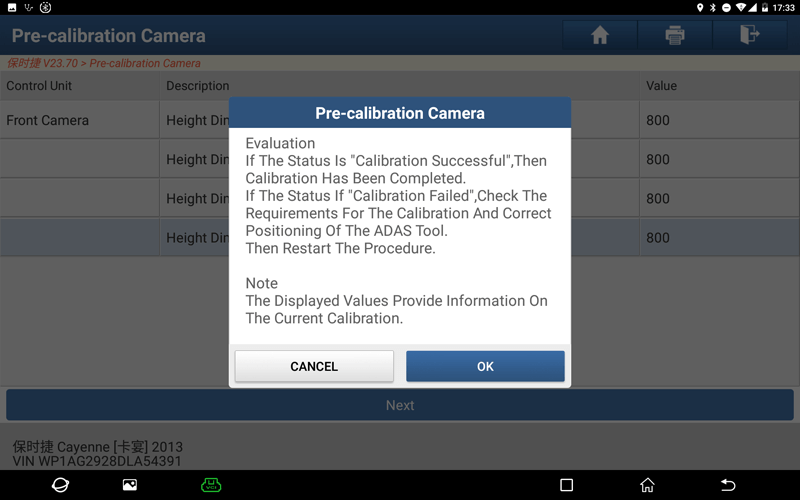
Read the prompt information carefully, click "OK" to continue the function.
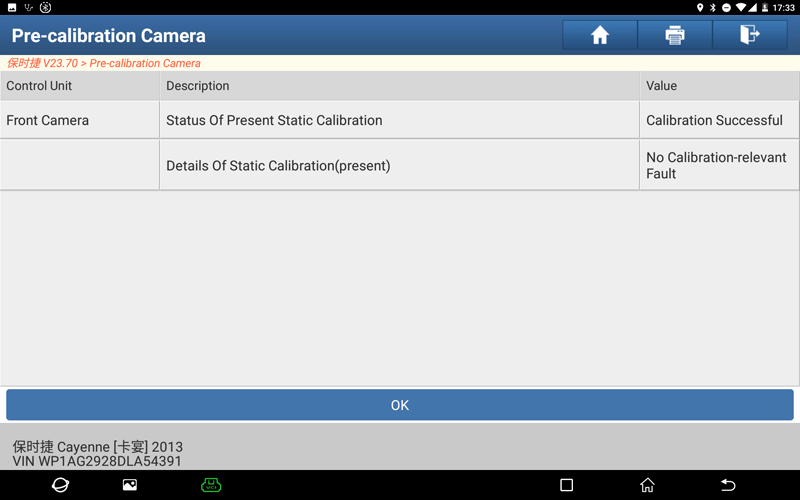
8. When the Value of "Status of present static calibration" shows "Calibration Successful", the calibration is performed successfully, click "OK" to continue the function.
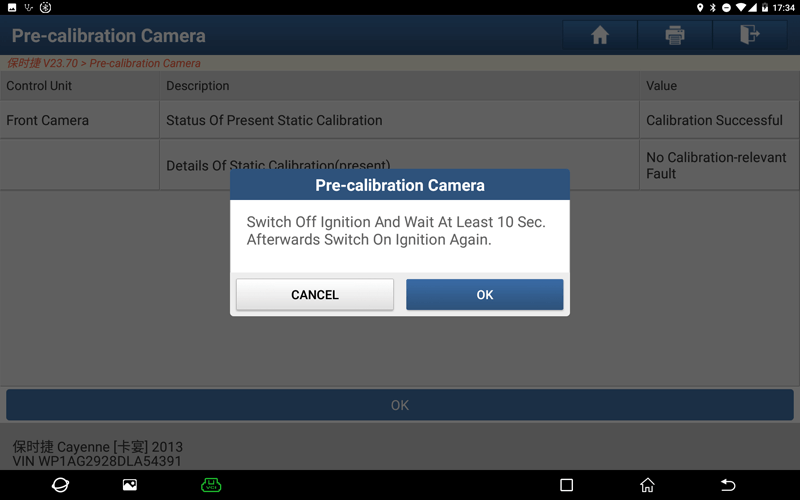
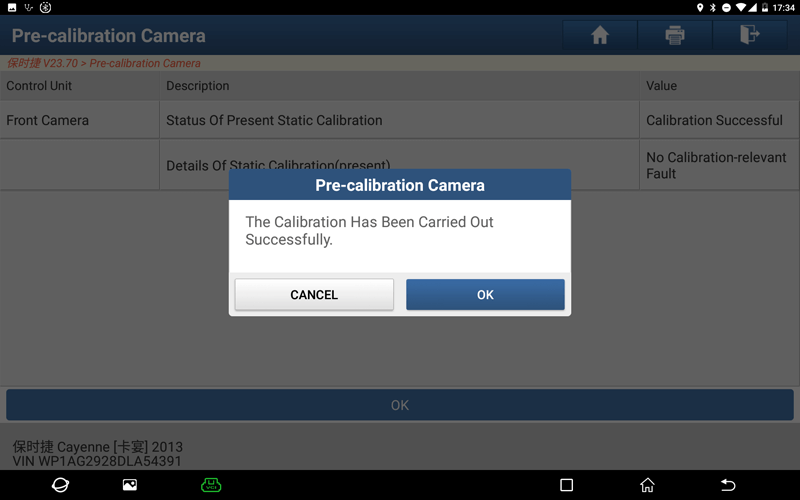
Prompt "Turn the ignition off, wait at least 10 seconds, then turn the ignition on again". Click "OK" to prompt that the calibration is completed successfully, and click "OK" to end the function.
Return


 VIEW All